How to make 16 pictures for 4prim Vendor
====STEP1====
You must take a Texture of every item that you will place in vendor ,
you will need 16 pictures for 16 items .
====STEP2====
1.Touch Left side panel to select "channel dialog".
2.Touch Right side panel to select "channel dialog".(the same number)
Vendor operates like this ;
When someone touches the point on right side on vendor
( Touch-select Aria where small pictures are ),
4prim Channel Vendor will show the large picture on the same channel left part.
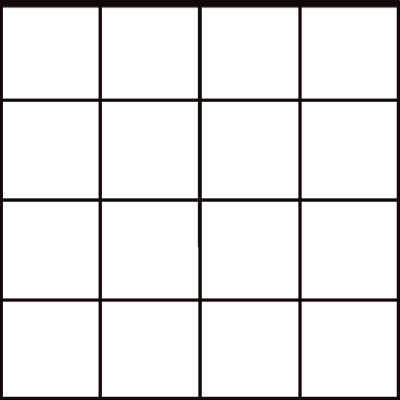
Left side of vendor is devided to 16 areas by _sub script,
Large pictures in the Left is large panel for showing .
Script devides right side (Partitioned sixteen areas ).
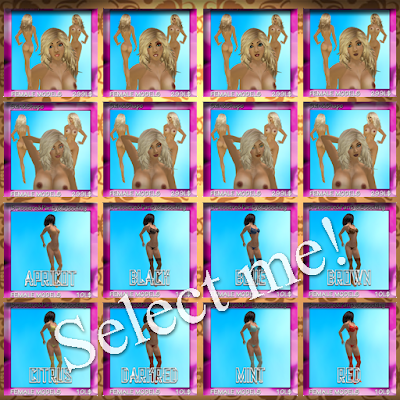
In first line ( starting in left up corner ) are items 1 , 2 , 3 , 4 .
In second line are 5 , 6 , 7 , 8 .
In third line are items 9 , 10 , 11 , 12 .
and in fourth line are 13 , 14 , 15 , 16 .
Make a picture for right side of vendor :
Make a picture ( using Photoshop,GIMP or any other program like )
which has all sixteen small picures of sixteen items on
one side of vendor lined up in order ( example , see picture "Background" into object.
You can see how left side is devided in sixteen areas .
refer to
http://slblogtrackbacker.blogspot.com/2009/12/how-to-make-16-pictures.html
That will be the texture for left side of vendor.
clicking on any of those small pictures by a user.
vendor will show large picture of that item on Left part
( picture for Right part is texture stored in notecard " _itemlist"
If you like it can be added some frame for texture of left and right side ,
it makes border among pictures clearer , and in a thin area on upper part some text can be added , like a name of store or like .
( Example , see picture. " casual11 or casual12" ) .
Texture " casual11 or casual12 " is in the package that vendor is ,
you can download it to your comp ( it is full perm ) .
When you make the picture like " Background" just place texture " casual11 or casual12 " over it ,
and you will get the result like one that can be seen on pictue "16 ITEMS picture " .
====STEP3====
Pictures that will be seen on large panel on Left part of vendor are those textures
which you place in notecard " _itemlist ".
Frame can be added to picture , it will look more nicely like that ,
some text can be added too , like " Right click to purchase " , couse
vendor doesn't has a hover text above it , that is couse vendors
structure can't support hovering text above it , it doesn't showes hovering in Left of vendor .
Example of frame , see picture " Left side picture" .
====STEP4====
Upload pictures for the left and right sides of vendor and place it on left and right side ,
vendor script won't change it on reset or rerezz .
====STEP5====
Upload pictures of all 16 items , and copy their Asset UUID to notecard " _itemlist "
( configuration of notecard is explained in Description and
setup instruction notecard which came with vendor .)
====STEP6====
When you have all textures on vendor , and notecard is set properly ,
reset vendor by touching it on back side , after resetting it will work with your textures on it .
Best Regards,
Thanks
Risa Fairey
Refer to Vender Frame

折角、アダルトのモールを借りているのでShapeを作ってみました。
Resaleキットのスキンと抱き合わせです(笑
中身じゃなくて、Vendorが商品なんですけどね。


0 件のコメント:
コメントを投稿